How to mark a TestCase as Passed in Azure TestPlans | Azure DevOps
First let us see how to execute a testcase and then let us see about how to pass a testcase when all the steps are passed. A TestCase Execution is marked as passed only when all steps are passed, even if one steps fails the testcase would be marked as failed. Let us see what are the steps that should be followed to mark the outcome of a testcase as passed
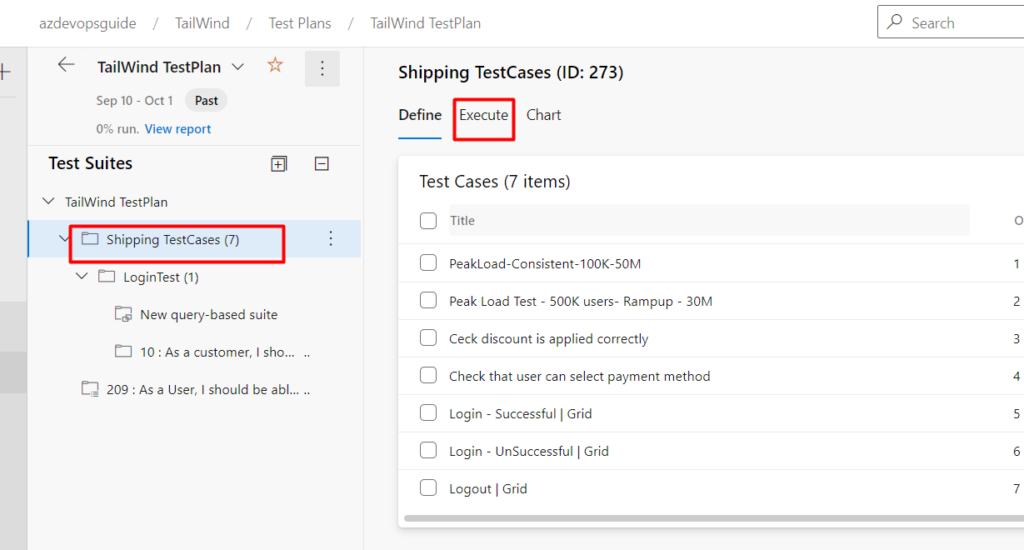
Step1: Go to the TestPlan and select the Test Suite in which the testcase you wanted to execute is there
Step2: Click on the TestSuite and then click on the Execute tab

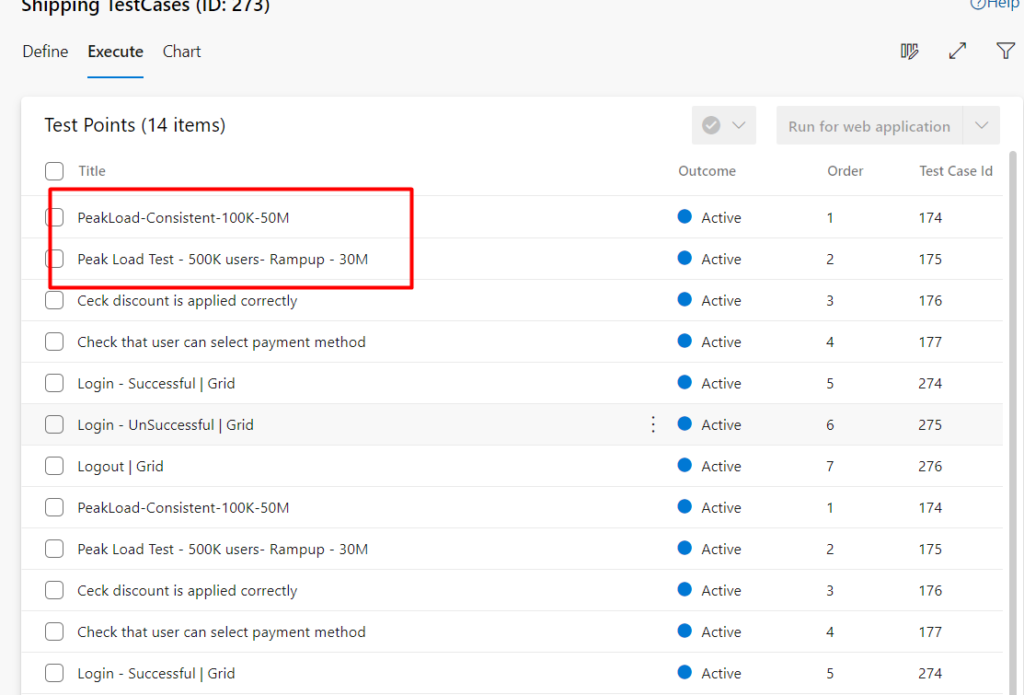
Step 3: You can see the list of the testcases with different configuration, then click on the testcase you want to execute

Step 4: Select the TestCase and then click on the Execute symbol at the top.., then click on the Pass Test

Step 5: Once you click on “Pass Test”, the system will update the status of the testcase & then you can see the status also updated as shown below

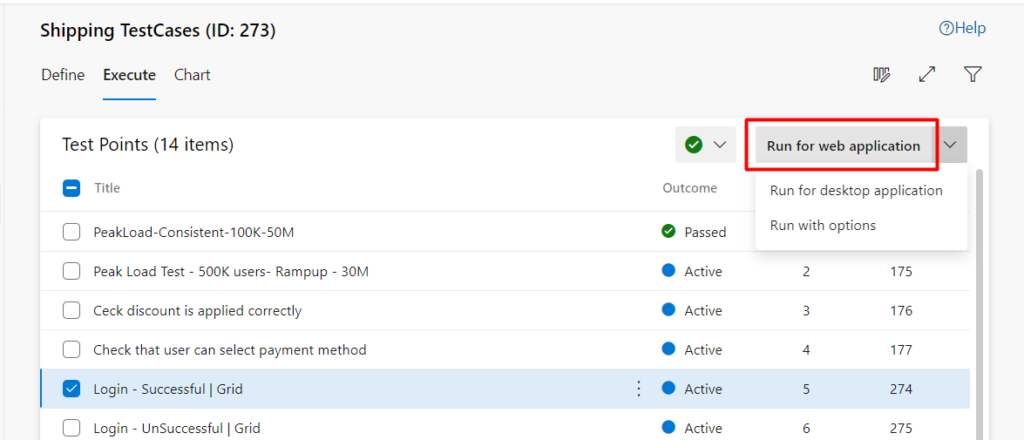
Now let us see how to execute these testcases step by step and mark outcome of these testcases as passed.Select any testcase you need and then click on “Run for Web Application” or “Run for Desktop Application” as shown below

Once you click on Run for Web application, it will open a new window as shown and in the window shown below, the 1st box indicates the overall outcome and the 2nd box indicates the individual outcome for each step

To execute the testcase and mark the outcome of testcase as passed, you have to verify the action and expected in each step, then mark the outcome of step as passed. Only when you mark all the steps as passed, the outcome of the testcase will be changed to Passed and even if one step is not marked as passed the outcome would be in-progress, so when you are executing a testcase make sure that you pass all the steps in the TestCase
