Most of the times, Project Managers and Leads follow behind the team members to enter the tasks for User Stories or Product Backlog items. A truly agile team will follow it but same can’t be said about others where the teams are not Agile..And even for agile teams it takes sometime to enter the tasks, but here is an easy way out of it by which task creation is much simpler and time consuming process.
So how to solve this Problem?
Solution : Azure DevOps + Flow
Step 1: Go to Microsoft flow (flow.microsoft.com)
Step 2: Click on Connectors and then Search for Azure DevOps and click on it
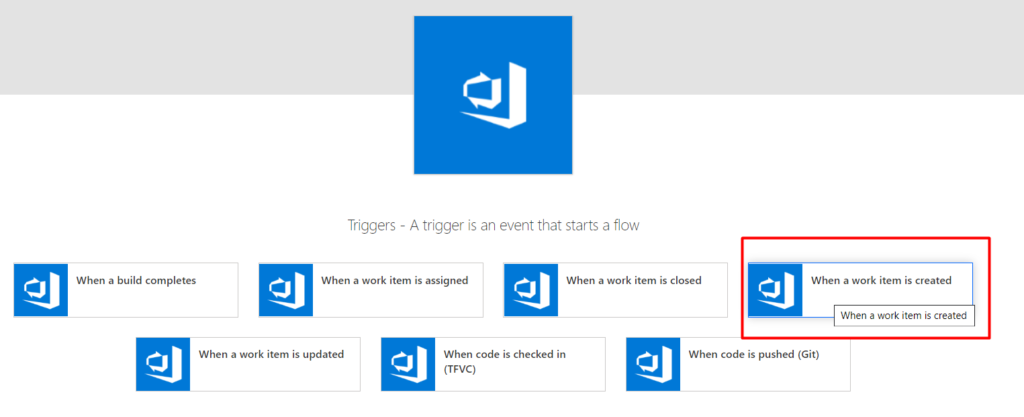
Step 3: Choose the trigger whenever a work item is created as shown

Step 4: Enter all the details such as account name, project and type of the workitem
Step 5: Then Click on New Step as shown below


Step 7: Then Click on “Create a work item”
Step 8: Choose these details from Dropdown – AccountName,Project and Workitem Type
Step 9: Then choose Iteration Path, AreaPath from the parent workitem (Whenever you type AreaPath, it will take it from the first one)
Step 10: To link this work item with Parent, we need to know the url of the parent workitem
Step 11: Choose the parent workitem url from the previous step as shown (by entering url) and enter the link type as “Hierarchy Reverse” (as we are linking the parent from the child, if we are linking child from a parent then it’s Hierarchy Forward)
Step 12 : And also enter any custom fields data you need to be populated from the userstory (All the custom fields could be entered from other fields. Will explain it in a separate post)

Step 13: Then Click on “Save” button
Step 14: To test the flow, let us create a sample userstory and see how the task is getting created
Then create a UserStory as shown

Step 15: Wait for couple of minutes for the flow to run (There are other ways in which you can make this faster if you have a premium account and use HTTP connector with Service connection)
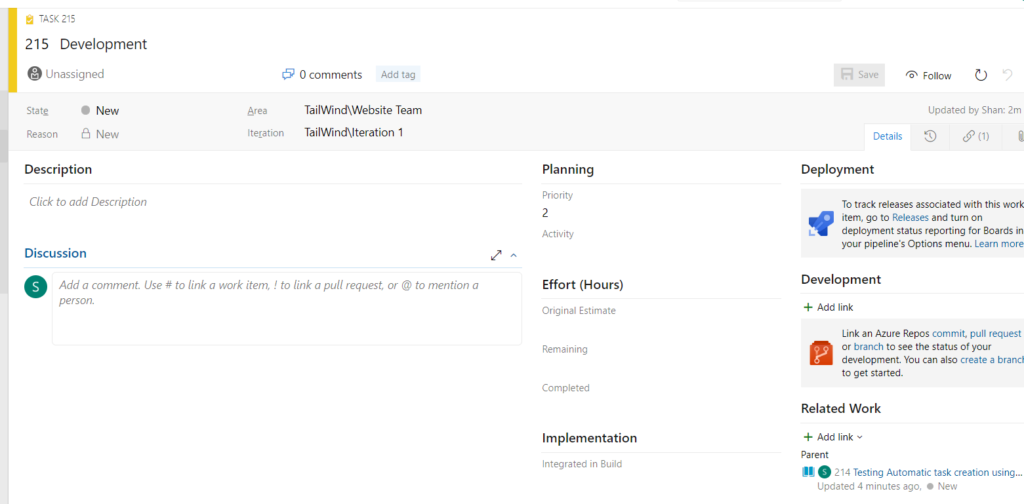
Step 16: See the User story again, you will have a task created under it


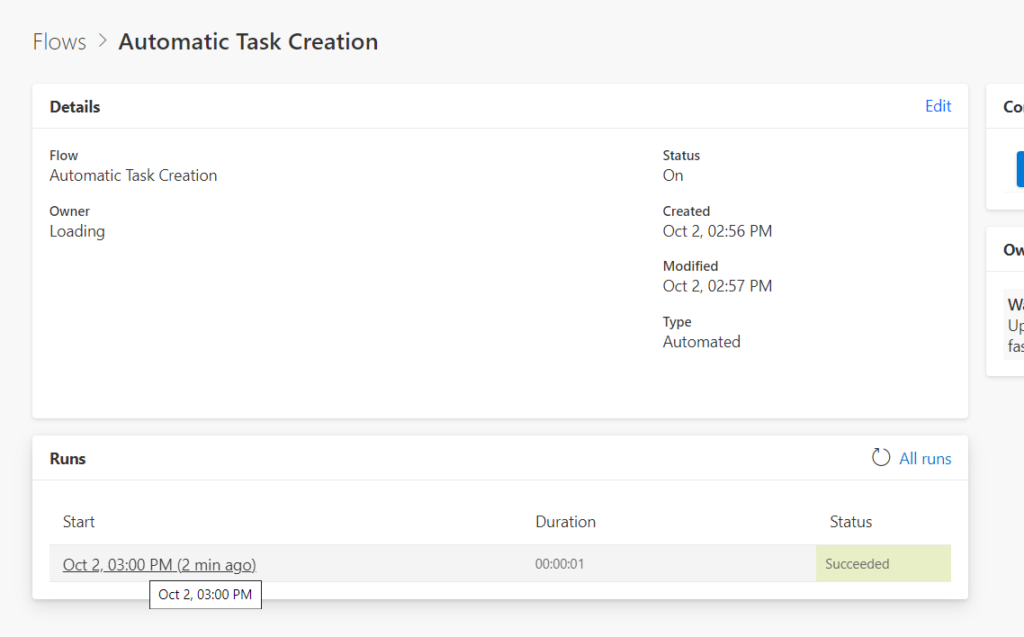
Step 17: You can also see whether the flow has run successfully by going to flow and seeing under runs

By this method, you can create tasks automatically without having to enter it manually or by using Excel. The same method can be also use to create Multiple tasks by having parallel branches as shown over here..
This is a 3 part series which explain in detail about how to create tasks using flow. You can see all the articles below
1. How to Create Tasks using Microsoft flow
2. How to Create Multiple Tasks
3. How to Order Multiple created tasks using Microsoft Flow & Azure DevOps
If you any doubts contact me on Twitter at @Ramanean or on @AZDevOpsGuide