Azure DevOps has an Microsoft Office 2019 plugin which could be installed on Excel which allows a user to add/edit as well as delete workitems on Azure DevOps directly from Excel.It also allows direct import of workitems from Azure DevOps to Excel as well as export of workitems from Excel. It enables directly publishing of multiple workitems from Excel. Let us see in the below steps on how to download the Excel plugin and install and configure it
Download the Excel Plugin
Step 1: Go to https://visualstudio.microsoft.com/downloads/#other-family
Step 2: Download the extension by clicking on the below Download button (Choose the language for which you want to download the extension)

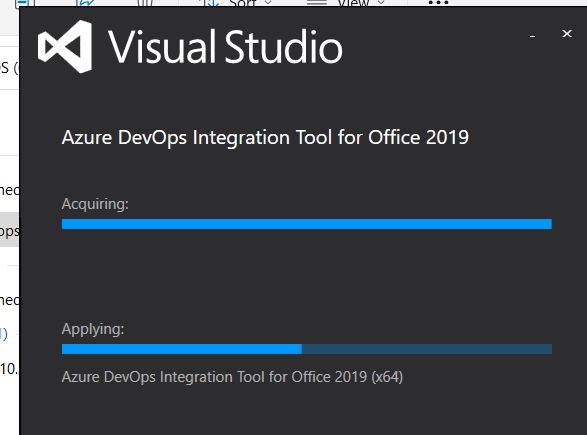
Step 3: Double click on the downloaded exe and install it as shown below.
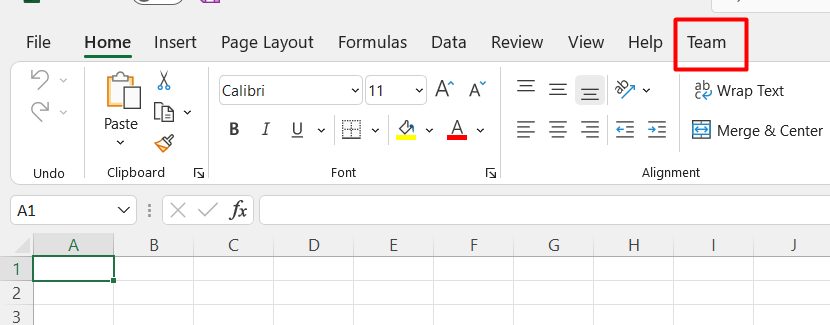
Step 4: Once installed. ReOpen the Microsoft Excel again where you would be able to see a New “Team” tab at the top which indicates the extension has been successfully installed
Connecting Excel to Azure DevOps
Follow these steps to establish a connection and import work items:
- Open Excel and navigate to the Team tab.
- Click New List in the Team tab.
- In the pop-up window, click the Servers button.
- Click Add in the next pop-up.
- Enter your Azure DevOps URL (or AzureDevOps server address) and click OK.
- A Microsoft authentication pop-up will appear. Sign in with your credentials. Once successful, your Azure DevOps instance will be added.
- A list of projects will display. Select the Team Project you want to work with.
- Select the query you wish to run. If you choose a tree query, the results will display in Excel showing the work item hierarchy. Click OK.
- The work item data from Azure DevOps will then populate your Excel sheet.
Customizing Columns
You can modify the fields (columns) displayed in your Excel list:
- Click the Choose Columns option at the top.
- In the pop-up, first select the Work Item Type (e.g., Feature, Epic, User Story) to see available fields.
- To add a field as a column, select it in the left pane and click the
>symbol. This moves it to the selected columns in the right pane. - To remove a field from the Excel sheet, select it in the right pane and click the
<symbol. - Click OK to apply the changes (e.g., adding the “Assigned To” field).
Bulk Actions on Work Items
Updating Work Items
To modify existing work items:
- Update the values directly in the appropriate columns in Excel.
- Once changes are made (e.g., changing a Product Backlog Item’s status to “Done”), click the Publish button at the top.
- The changes will be published and synced back to Azure DevOps.
Using this method, you can update one or multiple work items simultaneously, which is much faster than updating them individually within the Azure DevOps UI.
Adding New Work Items
To quickly add new work items, especially child items (like tasks):
- Select the parent work item (e.g., a User Story or Product Backlog Item) to which you want to add a child.
- Click the Add Child button at the top.
- Enter the title for the new work item and select the Work Item Type (e.g., “Task”).
- Click the Publish button.
- The new task will be added as a child to the selected parent in Azure DevOps. The new work item ID will appear in the leftmost column in Excel and the item will be visible in the Azure DevOps UI.
This feature allows for the easy and efficient addition of multiple, hierarchical work items that cannot be accomplished as easily through the standard Azure DevOps user interface. Also see a detailed step by step process with screenshots on how to connect Excel with Azure DevOps